Monday, December 31, 2012

Crumb Cake

This is a special recipe, one that my brother Pat and I would beg the Mama Jones to make often. It's a recipe I willing risked my own life for. You see, we had a scary basement. The kind you held your breath and ran up the stairs like a bat out of hell as soon as you got what you were after. My mission was canned peaches; sweet delicious peaches the Mama Jones had canned herself and had stock piled in the horrifying basement. They would chill in refrigerator while she made this yummy deliciousness, and are the perfect side to this sweet cake.  I make it for my own kidlets now, who affectionately call it "Crummy Cake", trust me, this is not a reflection on how it tastes. It disappears into thin air.

Crumb Cake aka Coffee Cake


Ingredients:

2 cups flour
2 cups brown sugar
3/4 cup shortening
1 cup sour milk (or + 1 Tbsp lemon or vinegar , read down for a trick on this)
1 tsp baking soda
1 tsp cloves
1 tsp cinnamon 
1 egg

Directions:

Combine 2 cups flour, 2 cups brown sugar, and 3/4 cup shortening and rub to crumbs. Set aside 1 cup of mixture.


Add 1 Tbsp of lemon juice, or vinegar to your 1 cup of milk, it will curdle within a few minutes, giving you your "sour milk".


To rest of mixture add 1 cup sour milk, 1 tsp baking soda, 1 tsp cloves, 1 tsp cinnamon, and 1 egg. Mix well.


Pour into 9x13 pan that has been lightly greased, top with reserved crumbs and bake at 350 degrees for 20-25 minutes, or until golden brown.


Enjoy!


With, or without the chilled peaches you braved the boogie man for! 


Saturday, December 22, 2012

Apple Crisp Pie

Ok. I'm going to share with you "my" version of Apple Crisp Pie. My Mother-in-law (whom is a very great baker) said that someday when she opens her own bakery, she will have this pie on the menu and name it Nicole's Famous Apple Pie.  Since then, she has made this pie, I've been asked to make this pie, and have given the recipe many times for Holiday occasions. So, I hope you enjoy!

It all started 3 or 4 years ago, when I was given this beautiful pie plate from my Grandmother Barnes (super generous and sweet sweet lady!). It is my absolute favorite pie plate ever! Why? Just look at it! It's beautiful! It also has the apple pie recipe on the bottom, stamped into the plate.
This is where I got the recipe... However, there were weird things about the recipe so I had to alter it quite a bit to how I would like it.


Sooo... Lets get started with the Pie. It's super super easy and you don't have to wait an hour for it to bake. We'll get to that in a few... (the recipe is at the bottom of the post)

First, preheat your oven to 375.

First you need about 6-7 medium size Granny Smith apples. I actually had to use 8-9 because my pie plate is very deep.


Peel the apple, like so...

Then you want to cut the apple into 4 different pieces, omitting the core...

Try to cut the apple pieces into even slices. The more even the slices the better the pie. You don't want to have some slices too thin and then some too thick. It would make it so you would be eating a crunchy/mushy pie, Yuck!

I use my large pampered chef bowl, and fill it up at the top. It gives me about 8 cups of apples, which I need for my deep pie dish. You'll probably only need about 6-7 cups of peeled, sliced apples. If you don't have a pampered chef bowl like this one, a large glass bowl or something microwave safe will do (no plastic).
Once you've got your apple slices done and in the bowl, you'll add to it:
1/2 cup Sugar
1 tsp cinnamon
2 Tbs Flour
3 Tbs Water
1 Tbs Lemon Juice
Then just stir it up into your slices.

Next you will cover your bowl with saran wrap and stick it in the microwave. Yes, I said microwave. Trust me, you'll thank me for this step. It takes 1/2 hour off of baking time. You will let your apples cook in the microwave for 7 minutes.


While your apples are cooking in the microwave, you'll need to layer your homemade or store bought pie crust in the bottom of your pie dish; in my case the pie crust is store bought. 


Once you've got the pie crust in your dish, then you can start on the crumb topping in a separate bowl:
1 cup oatmeal
1/2 cup brown sugar
1/2 cup flour
2 tsp cinnamon
1/2 tsp nutmeg (you can add 1 tsp if you like the strong nutmeg taste)
2/3 cup butter, soft (room temperature is best, do not let your butter get too soft, it's ok if its still a little cold)


You want to cut in the butter until the mixture is crumply, like so...


By the time you are finished with the crumb topping, your apples should be done partially cooking in the microwave. It should look something like this... If it looks like there is too much juice in the bottom like mine, you will want to just add in a couple of more tablespoons of flour and stir it up.

This is what it will look like after you've added in a couple of tablespoons of flour. It thickens the juices so your pie won't be watery. Take these apples and put them in your pie dish.

Add the crumb topping mixture on top of the apples and put the pie in the oven to bake for 35-40 minutes. Until your crust is golden brown. Thats it!

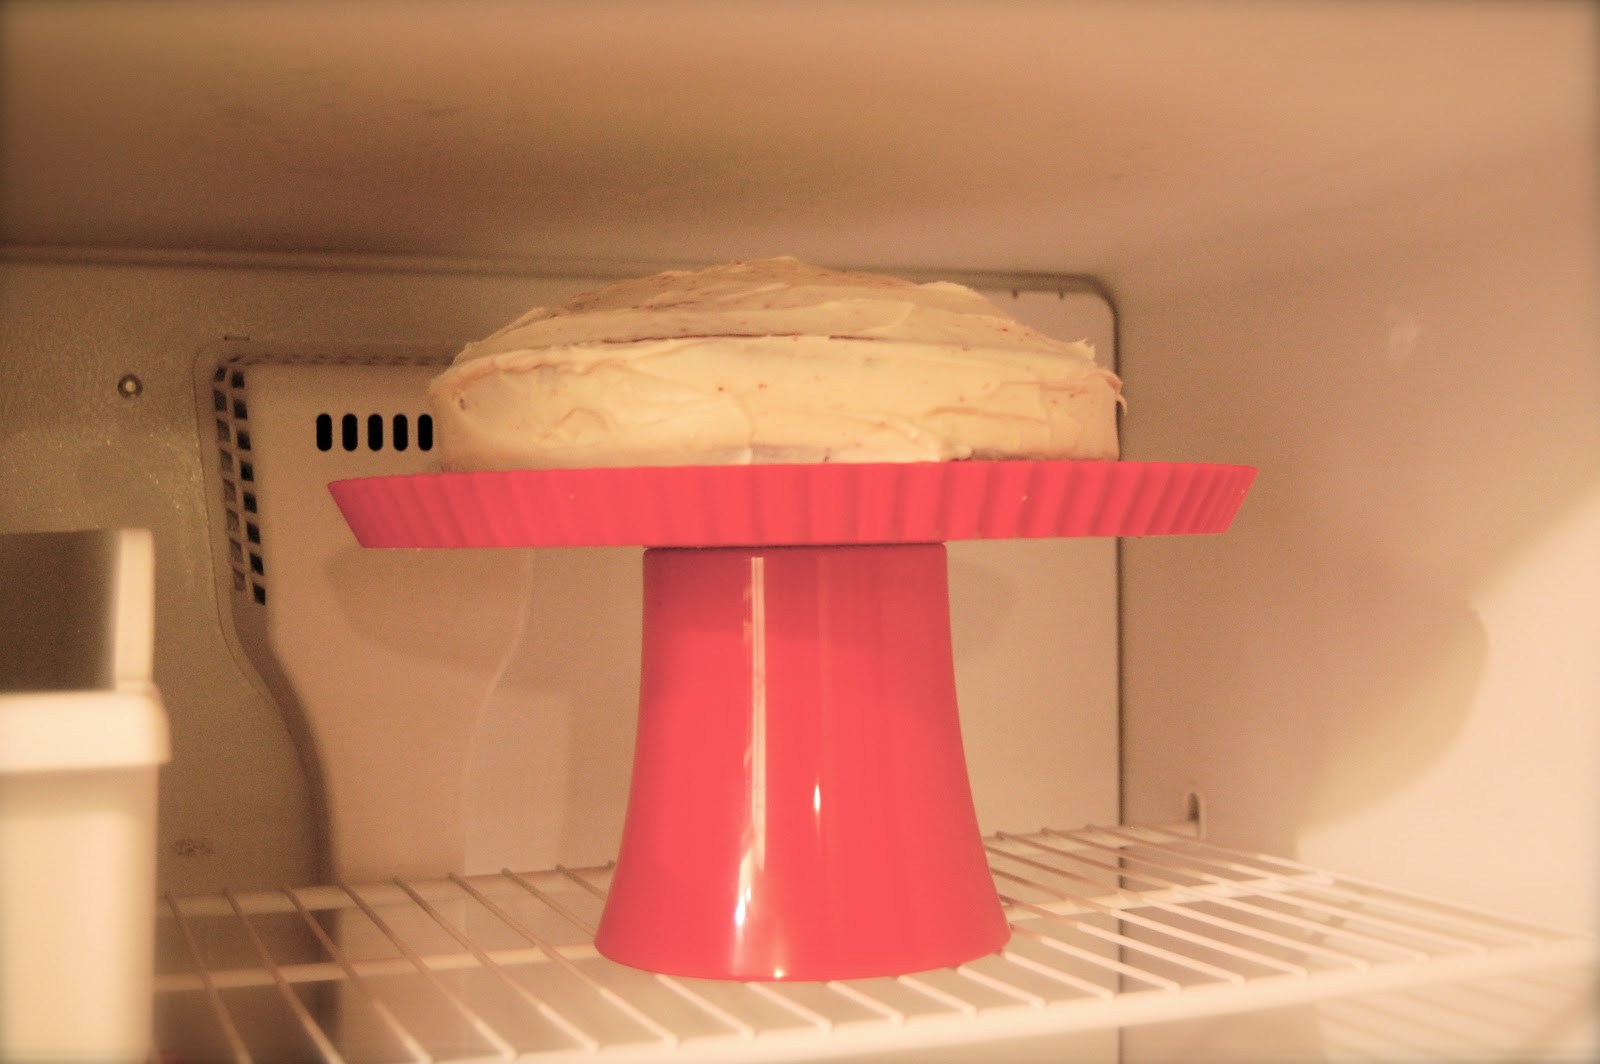
This is what your finished pie will look like straight out of the oven! YUMMY!
If you are anything like me... You will not be willing to wait very long to have a slice. I try to let it cool for at least 15 minutes. Grab yourself a slice and add a scoop of your favorite vanilla ice cream on top and Enjoy! It is sooooooo DELICIOUS! Trust me! My husband has to have this pie every Thanksgiving and Christmas or he is not a happy boy.


The recipe:

Apple Crisp Pie

1 Homemade or store bought pie crust.

Filling Ingredients
6-7 cups sliced peeled apples
1/2 cup sugar
1 tsp ground cinnamon
2 Tbls Flour
3 Tbls Water
1 Tbls Lemon Juice

Topping Ingredients
1 Cup Oatmeal
1/2 Cup brown sugar
1/2 cup flour
2 tsp Cinnamon
1 tsp Nutmeg
2/3 cup butter, soft

Preheat oven to 375.
Place crust in pie plate.
In large bowl combine all filling ingredients: mix, cover and microwave for 7 minutes. spoon into crust-lined pan.
In small bowl, combine all dry topping ingredients, then cut in butter until mixture is crumbly. Sprinkle topping evenly over filling.
Bake 35-40 minutes.
Let cool for 10-15 minutes. 

PRINT RECIPE


Enjoy!


Tuesday, December 18, 2012

Red Velvet Snow Globe Cake


My kids were so excited to see this in the making today, my oldest was asking who's birthday it was, ha! I saw a variation of this in a taste of home magazine, but decided to make it my own... which usually means; A. more cheese than specified, or B. dumb it down for my amateur self. In this case it was the latter.


Let's get started! You will need:

Cake

A box mix of red velvet cake.
Here's my two cents... you can trick almost anyone into thinking that your cake is from scratch with this little secret. 

Add the following to your cake mix:

+1 Egg
1 box instant pudding (Cheesecake)
Double the oil called for
1 cup water

Bake at 350 for longer


Bake your cake in (2) 9 inch rounds and let cool.


 Cream Cheese Frosting:

1/4 lb soft butter. This does not mean throw it in the microwave (I've done it, too) Ideally it will have been sitting on the counter for a few hours.
8oz cream cheese, also softened a bit.
1lb confectioners sugar
1 teaspoon vanilla
1 14 oz bag of shredded coconut


*note: I doubled the frosting recipe for this cake. 

Mix ingredients EXCEPT coconut  in a mixer until smooth and creamy, if it appears a little stiff add in a small amount of milk until it is at your desired consistency. 


Start frosting your cake!!

I like to put mine in the freezer for about 10 minutes between coats, it helps you achieve that smooth professional look.

Once it is frosted and looking beautiful it's time for covering it with with snow, ha, OK coconut. Be liberal and squish it in on the sides.


Decorations:

Sugar Cone
Frosting (tint some of your extra green)
Wilton decorating bag and tip #32
Candy decorations
Holiday ornament...To my son's dismay his Storm trooper didn't make the cut.
Glass bubble bowl ( I scored mine at Joann's for a whopping $1.50)
Ribbon

First you're going to want to decorate your tree. Start at the bottom and pipe your way to the top, then cover with candy.
Place your tree and ornament on the cake and cover with your bowl. And, if you choose to, top it with some extra coconut and a ribbon.


There you go, super fun, original, and tasty cake. In fact, I'm forcing my husband to take it with him to work tomorrow. I can't be left alone with it. Who knows what would happen...besides my butt being a little rounder ;)

Enjoy!

Friday, December 7, 2012

Photo Challenge | 6. Ornaments

Here is my #6 a day late. Sorry about that! A little about my photo... My little guy of the house decided to decorate the back of the tree where the cord was hanging. He moved a big section of ornaments from the lower front to the back. I didn't even know until I was plugging in the tree lights. :) Gotta love toddlers!

6. ornaments

Since I'm a day late, there is no link up today but you can still use hashtag #thejoneswayblog on instagram and upload your ornament photos.

Wednesday, December 5, 2012

Easy, Man Pleasing Appetizers!

Usually, when I hear the word appetizers I visualize something on a fancy platter, ingredients that I can't pronounce, and I mimic the face of a baby being fed canned green beans for the first time....Throw that attitude out the window! These are super easy, man pleasing recipes for family favorite appetizers that you will get complimented for again, and again, and one more time, again! The Mama Jones holds these recipes tight to her chest, so consider yourself family!

First up, Lil' Smokies. My Mom, aka, Mama Jones, actually left Thanksgiving dinner prep to deliver these little guys to a family friend who is in love with them. For reals?!

Lil' Smokies


You will need:
1 package Hillshire Farms Lil Smokies

1 package center cut bacon...much better for munching on...no gross, gummy fat.

(+-) 1 cup brown sugar. You want to put a fair amount of brown sugar on top of the smokies so they can soak it up while in the oven and caramelize into pure deliciousness. 

1 box toothpicks.


Directions:

1. Preheat the oven to 375, and get a pan (preferably one with sides for drippings) prepped with foil on it.

2. Cut your bacon into three sections.


3.Wrap a section of bacon around a lil smokie and secure with a toothpick. Repeat until bacon/smokies are gone.


4. Cover with brown sugar


5. Cook at 375 for 25-30min, and enjoy. These little guys taste bomb with hot mustard. 


Next up, Sweet & Sour meatballs, you WILL get asked for this recipe, and every time they will ask, "that's it?!". It really is that simple, and SO delicious. 

Sweet & Sour Meatballs


You will need:


A crock pot

3 lbs meatballs

32 oz grape jelly

32 oz pace picante sauce.


Directions:

1. OK, folks, here's where you need to pay attention...this recipe varies for each person depending on how spicy/sweet you want your meatballs. Mix together your picante sauce and grape jelly in a separate bowl and come up with a blend that suits your taste buds. You may not use the whole container of the pace, I don't. Pour your mixin' into the crock pot and add the meatballs. I buy the hefty bag from Costco and used about half.

2. Cook on high for 3-4 hours. 


And, that REALLY is it! These are awesome, and totally worth all the sweat and tears you put into them. 


Photo Challenge | 5. Something You Made

Ok. I wasn't home most of the day, so this is super late. Sorry. I made dinner tonight, but it was for my Hubby to put in the oven while I spent time in Seattle with the YW passing out gifts and blankets to the homeless people. Such a great experience. Any who... in all my tiredness, this is what I came up with...

Something I made, with help of course. ;)


This was taken with my Iphone and uploaded in Instagram. Use hashtag #thejoneswayblog.

Tuesday, December 4, 2012

Photo Challenge | 4. Something Cold

I kind of had a hard time figuring out what to photograph that was cold. If only we had some snow. We only have lame rain, but nothing fun to photograph. So my hubby said I should take a picture of some ice cubes... HAHA! So original.

So, I opted to take my favorite model outside wrapped in a blanket with her favorite snowflake beanie (made by my talented sister Lynlee). It kinda helped the cold factor that it was a little windy. Hope you like.
_DSC4463
Hit us with your best shot!

Monday, December 3, 2012

Photo Challenge | 3. Something Red

Here is my something Red. It is a sign I hang up for Christmas time. Definitely one of my favorite Christmas decorations I have. It was made for me by my friend Anna. 3. something red
Don't forget to link up your picture or hashtag #thejoneswayblog on instagram! We want to see what you are all up to. :)

Sunday, December 2, 2012

Hot Chocolate Spoons

When I saw these in my Taste of Home Holiday magazine, I knew they would be a hit with my kiddos.  Sundays in the Hasselblad home are loooooong. So, I usually have something planned to keep my kids busy, and me from going cuckoo. It just so happened that his activity had chocolate involved, coincidence? I think not.

You will need:


1/2 cup Nutella (optional) We made some without, and they turned out just as good.
Plastic or metal spoons.
3/4 lb candy coating, melted. I used Whilton's candy melts. 

Optional: Candy toppings There is no "optional" with my kidlets involved...

Directions:

1. Dip spoons in Nutella. If you're not a fan of Nutella, skip this step. Dip spoons into melted chocolate, let drip off. Decorate with your sugar goodness of choice, and let sit on wax paper until cooled.


2. Use to stir Hot Cocoa. You might love it as much as Soren, and burst into tears when it's all gone. 


Let me know how they turn out! Post a picture for us on instagram, #thejoneswayblog.


Winner Announced!!! | $50 Target Gift Card

First! Thank you to everyone who participated in this giveaway and spreading the word! We really really appreciate you! We will be doing giveaways again in the near future so stay updated with us. Feel free to continue to spread the word and share our content on Facebook.

I'm going to keep you in suspense a little bit longer and let you know what to look forward to on our blog every week...

Every Monday we will be posting something that is a Great Idea or DIY. We're calling it Major Monday Ideas.  Anything that we post on Monday you can later find under our GREAT IDEAS | DIY page at the top.


Every Wednesday we will be posting a Recipe to share. We're calling it Winner Recipe Wednesdays. We will post Recipes that we grew up with, or have tried from somewhere else and loved. Trust us, they will be good recipes or we wouldn't share them. ;) You can find all Recipes we've made and posted on our RECIPES page at the top.


Every Friday Nicole will be sharing something Photography related. It might be a tutorial, some advice on how to take better pictures, or just a pretty picture. If you have suggestions on a topic of Photography that you would like answered or need help with, let me know and we can probably do a post on it. Join us for Flashy Photo Fridays! You can see all photography related post by clicking on our Photography page at the top.

Don't forget to join us for the 25 Days 'Til Christmas Photo Challenge! Spread the word! It's lots of fun and great for memories!


OK! Without further ado...


In order to get a winner I printed and folded and placed all of your pretty names in a bowl...


Then, I had my very cute (willing) helper to draw out a lucky winner...


And the lucky winner is... Drum Roll Please...

Congratulations Randi!!! You are the lucky winner of the $50 gift card to Target. Send us an email, thejoneswayblog@gmail.com, with your address. We will mail your gift card right away as soon as we have your address!


Thanks everyone!


Share the knowledge!